
Centrally manage all users in your bessa Kassa account through the Manager. Here you can edit user data, manage PIN codes and key assignments, and configure user roles and cash register access.
Overview
User management gives you an overview of all users in your account. You can:
-
View all active and inactive users
-
Edit user data (first name, last name, PIN, key)
-
Assign user roles
-
Set cash register access for individual users
Important: Creating and deleting users can only be performed by bessa Support. To add new users or delete existing accounts, please contact our support.
Access User Overview
-
Navigate to Master Data
-
Select Manage Users
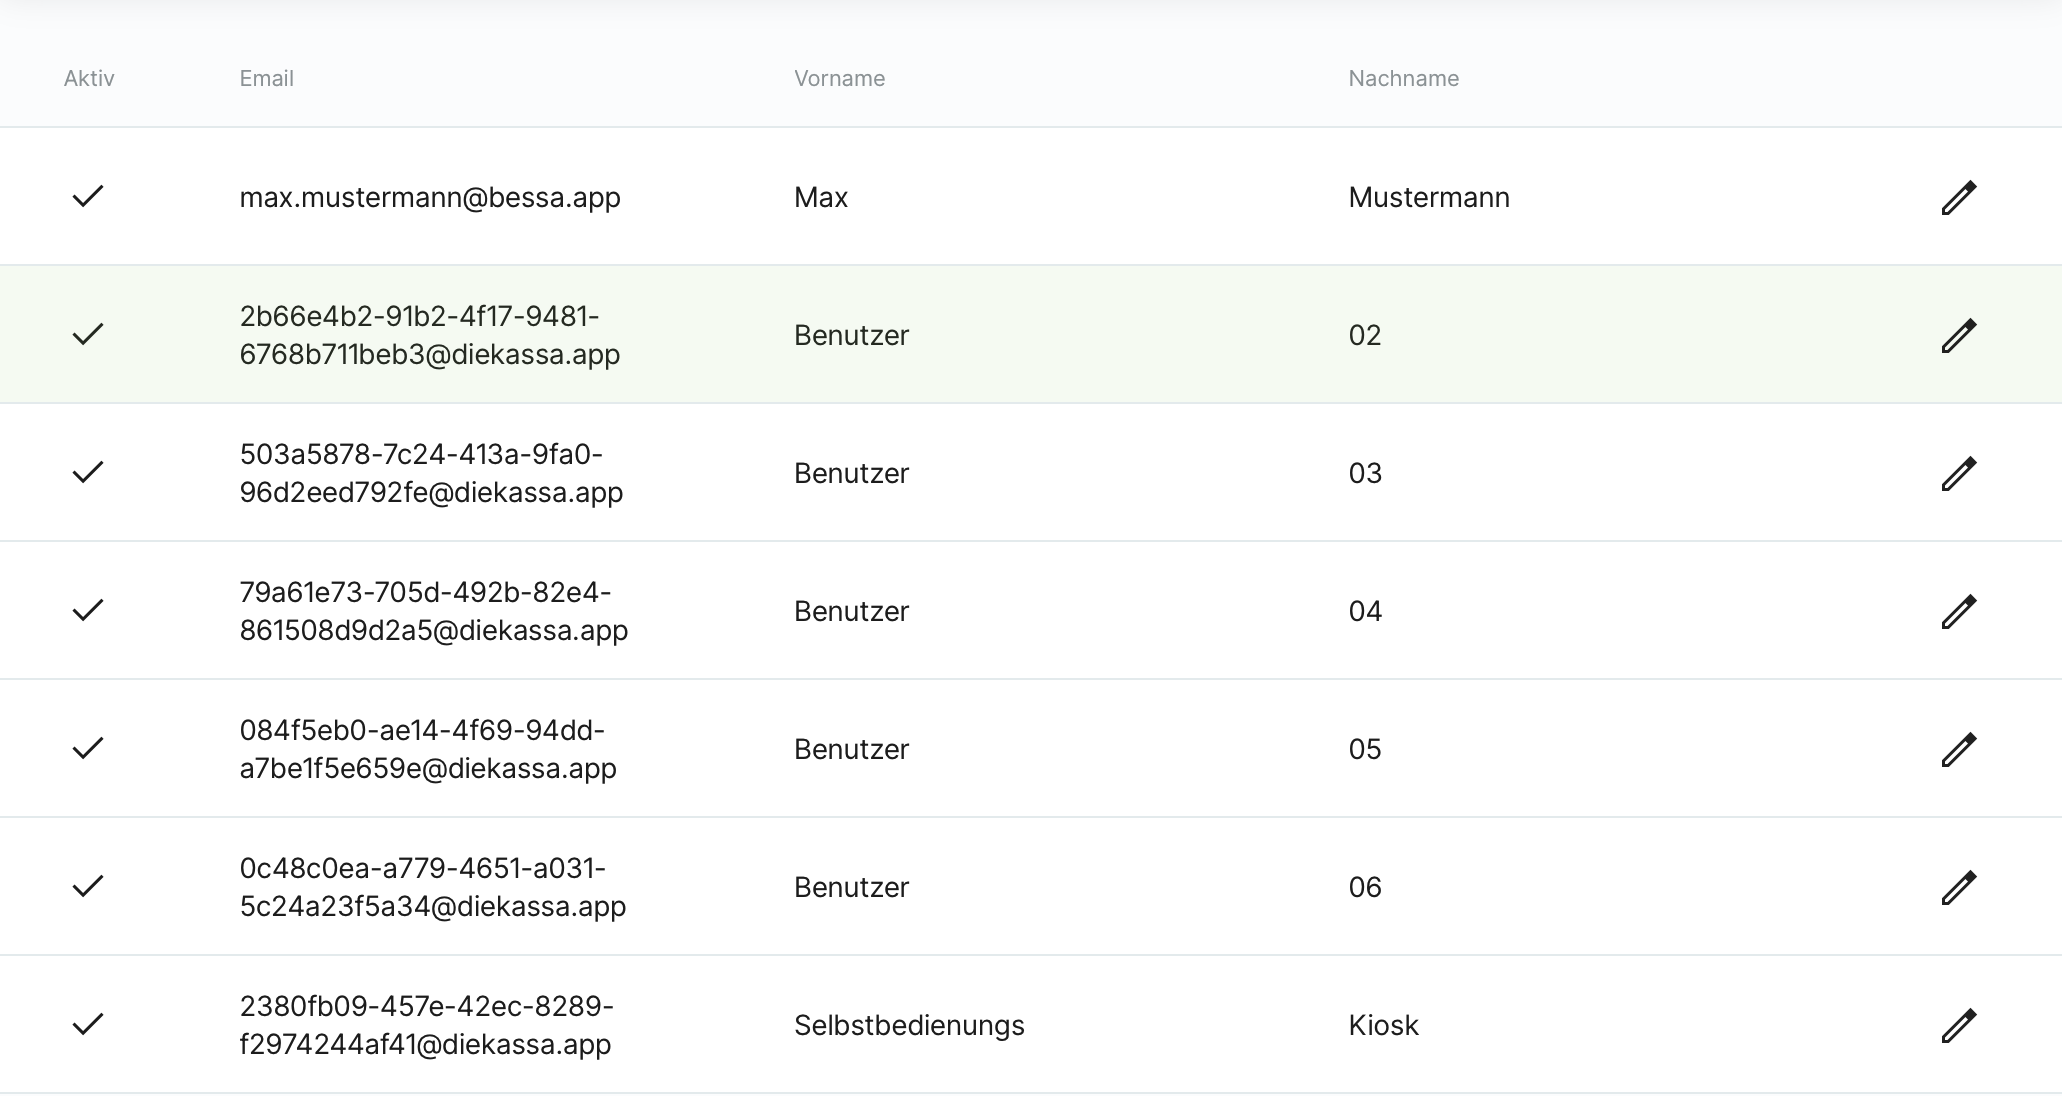
The overview displays the following information:
|
Column |
Description |
|---|---|
|
Active |
✓ = User is active, ✗ = User is inactive |
|
First Name |
User's first name |
|
Last Name |
User's last name |
|
Edit |
Pencil icon to open user details |
Edit User
Change User Data
-
Click the pencil icon next to the desired user
-
The edit dialog opens with two tabs: User and Cash Registers
Tab "User" - Edit Master Data
In the "User" tab, you can edit the following information:
Email Address
-
Unique across the entire bessa Kassa system
-
Can only be changed by bessa Support
-
Used for identification and login
First Name and Last Name
-
Freely editable
-
Displayed in reports and logs
PIN Code
-
4-digit code for quick user switching at the cash register
-
Should be unique (not verified by the system)
-
Enables quick login without full credentials
-
Note: If multiple users have the same PIN code, the first user found will be logged in
Key (Digital Key)
-
For magnetic lock or similar hardware
-
Should be unique (not verified by the system)
-
Used for quick user switching at the cash register
-
Tip: Place the cursor in the key field and connect the key to the computer – the field will be automatically filled
User Roles
-
Define permissions for the user
-
With multiple roles, permissions are combined
-
Important: In case of conflicts, a restriction is stronger than a permission
-
More information: Manage User Roles and Permissions
Tab "Cash Registers" - Manage Cash Register Access
In the "Cash Registers" tab, you assign which cash registers and secondary terminals the user is allowed to log in to.
-
Activate the checkboxes for the desired cash registers
-
The user can only log in to assigned cash registers
-
More information: Manage Sales Point Users
Common Problems and Solutions
Problem: Multiple Users Have the Same PIN Code
Solution: The system automatically logs in the first user with this PIN code. To avoid confusion:
-
Check all PIN codes for uniqueness
-
Assign each user an individual PIN code
-
Document PIN codes for your employees
Problem: Key Not Recognized
Solution Steps:
-
Unplug and replug device: Remove the lock and reconnect it
-
Check keyboard mode: The lock must be in keyboard mode (see device manual)
-
Check cursor position: Ensure the cursor is active in the key field
-
Check uniqueness: Verify if the key is already assigned to another user
-
Test lock: Test the lock on another computer or USB port
Problem: User Cannot Log In
Check the following points:
-
PIN code correct: Is the PIN code entered correctly?
-
Key assignment: Is the correct key assigned and working?
-
User active: Is the user marked as active (✓) in the overview?
-
Cash register access: Does the user have access to the respective cash register in the "Cash Registers" tab?
-
User roles: Does the user have the necessary permissions assigned?
If the problem persists, please contact our support (link to be prepared).
Create New Users or Delete Users
Creating new users and deleting existing users can only be performed by bessa Support.
How to request a new user:
-
Contact our support (link to be prepared)
-
Provide the following information:Email address of the new userFirst and last nameDesired user rolesCash register access (optional)
Support will create the user for you, and you can then assign PIN code and key yourself.