
Pricing levels allow you to set different prices and tax rates for individual articles depending on the sales situation. While you define pricing levels globally in the settings, at the article level you configure which prices apply for the article in the various pricing levels.
Activate Pricing Levels for an Article
To assign one or more pricing levels to an article:
-
Open bessa Manager
-
Navigate to Articles in the main menu
-
Select the desired article from the list
-
Switch to the Pricing Levels tab
-
Click + Add pricing level
-
Choose the desired pricing level from the dropdown
-
Enter the price for this pricing level
-
Choose the tax rate for this pricing level
-
Click Save
You can assign multiple pricing levels to an article by repeating the procedure.
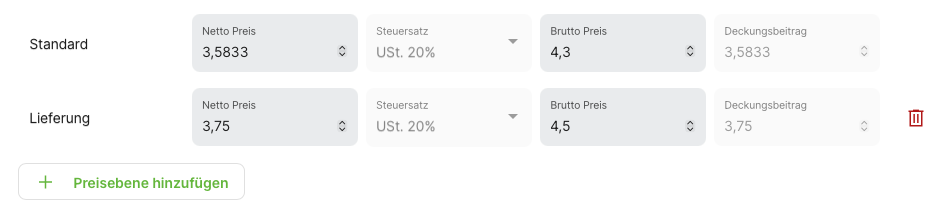
Set Price and Tax Rate
For each assigned pricing level you can specify individually:
-
Price: The specific sales price for this pricing level
-
Tax rate: The applicable tax rate (can differ from the standard tax rate)
Both values can be defined freely and override the article's default settings for the respective pricing level.
Use the Default Price
If a pricing level is enabled in the global settings but no specific price configuration is stored for a particular article, the article's default price is used automatically.
Example:
-
Article "Cappuccino" has a default price of €3.50
-
The "Happy Hour" pricing level is enabled system-wide
-
No Happy Hour pricing level has been configured for "Cappuccino"
-
Result: During Happy Hour, the cappuccino still costs €3.50
This way you can use pricing levels selectively for specific articles without having to adjust each article individually.
Remove a Pricing Level from an Article
To remove an assigned pricing level:
-
Open the article on the Pricing Levels tab
-
Click the trash icon at the end of the row of the pricing level to remove
-
Confirm the deletion
-
Click Save
Related Topics
-
Pricing Levels - Global configuration of pricing levels
-
Create an Article - Basic article management
-
Configure Tax Rates - Management of tax rates