
This article shows you how to manage and modify a menu category. To manage or modify a category, click on the Menu Category menu item. Then select a category and click the 3-dot icon.
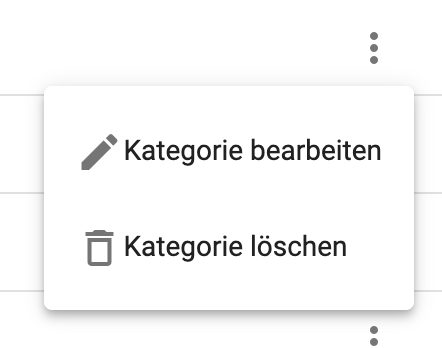
This click opens a context menu as shown in the screenshot. Then click on Edit category. This click opens the category dialog.
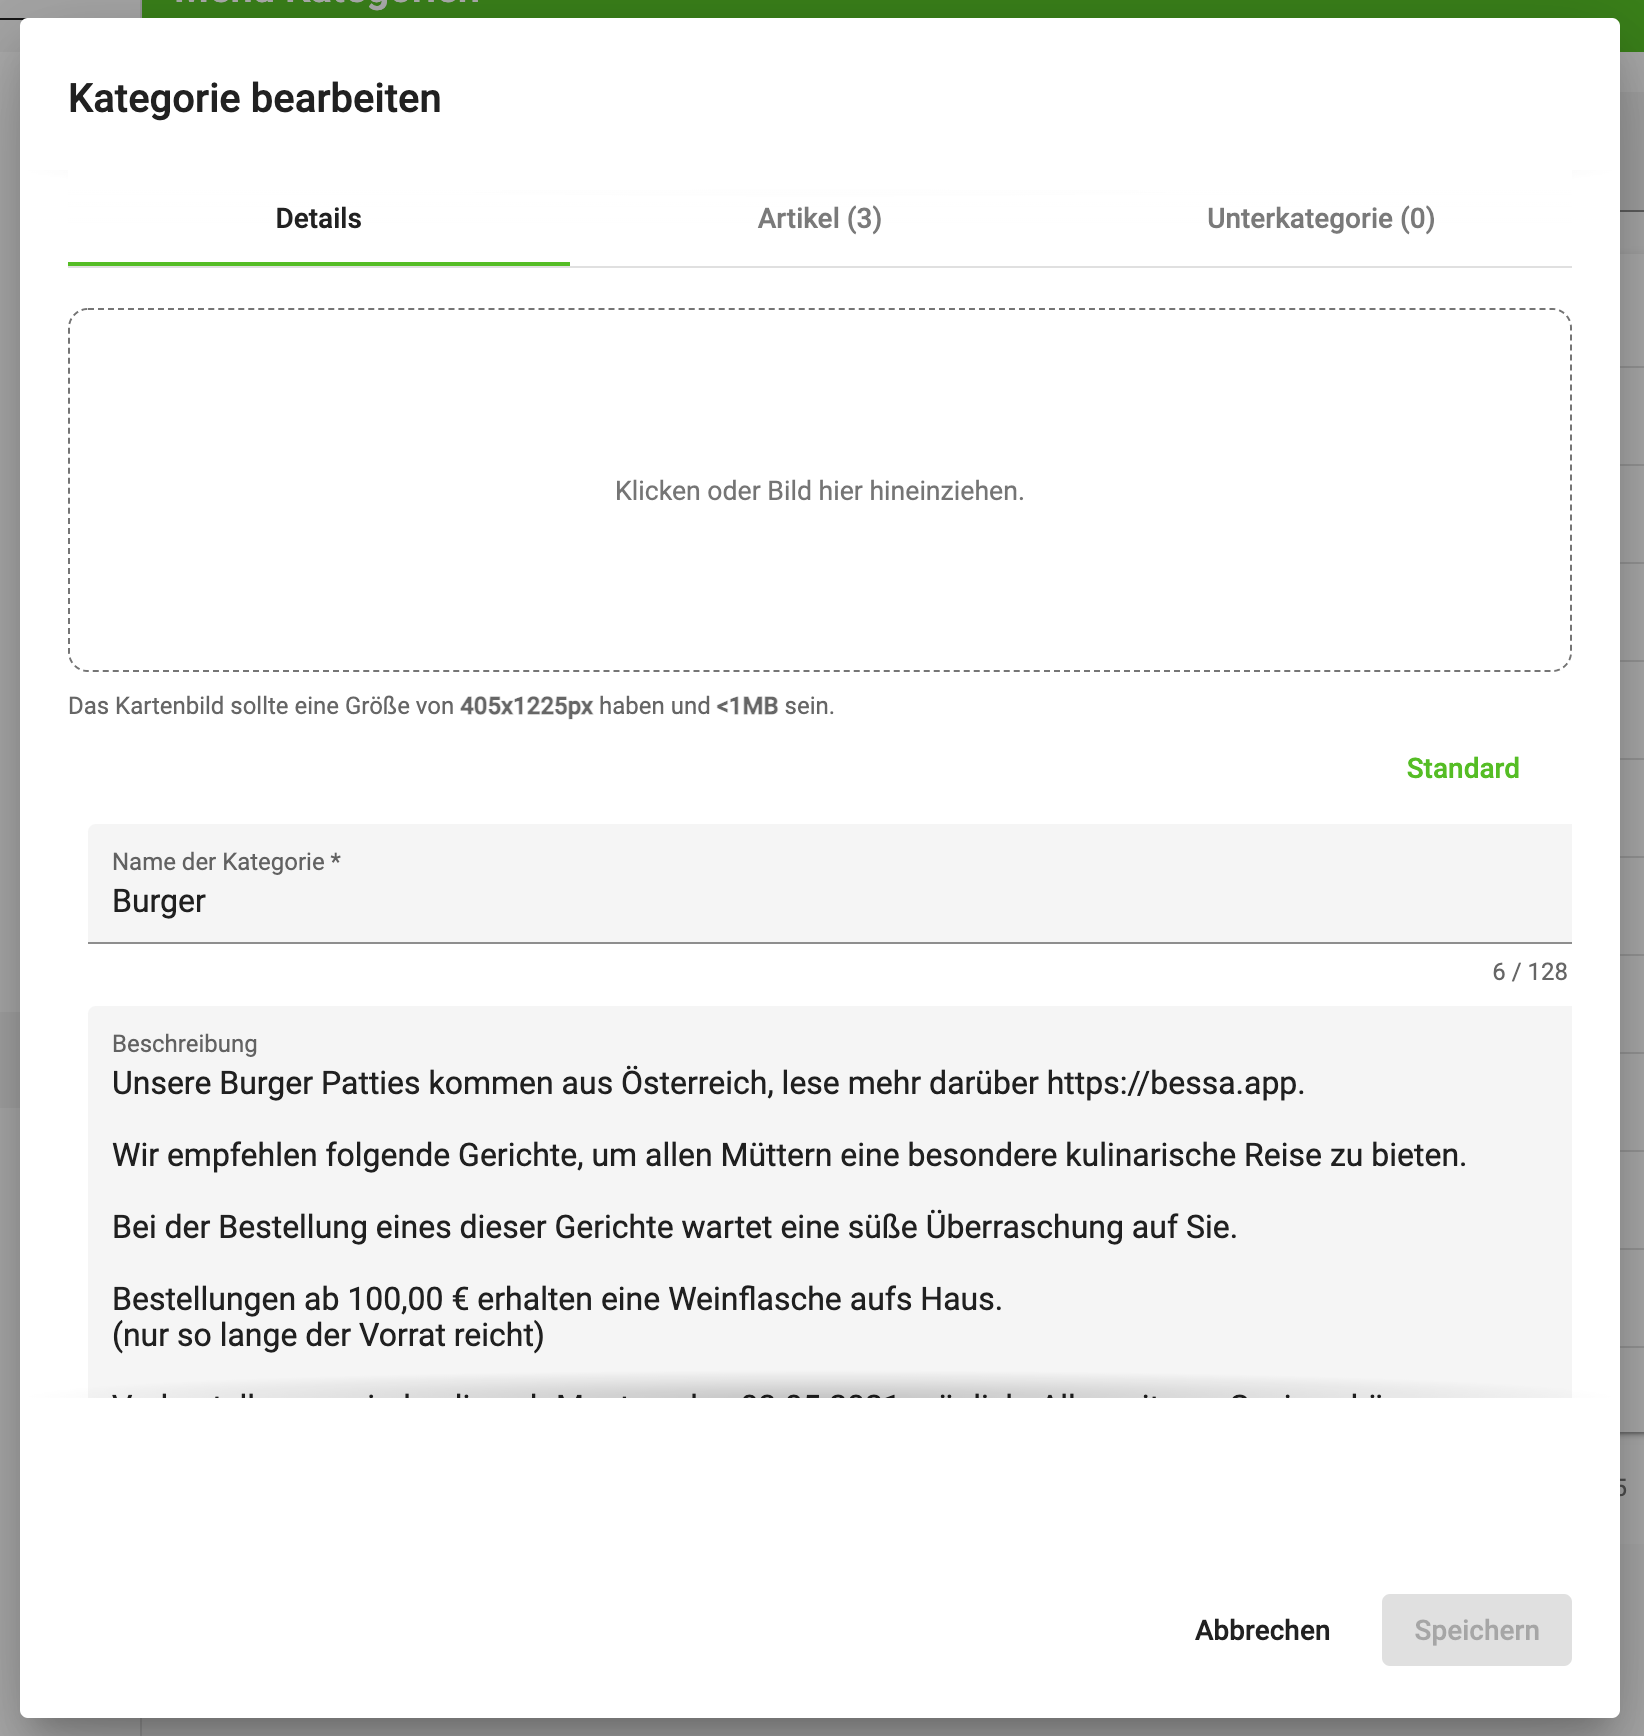
In this dialog you can manage the category.
-
The category name can be changed
-
The description can be changed
-
An image can be uploaded.
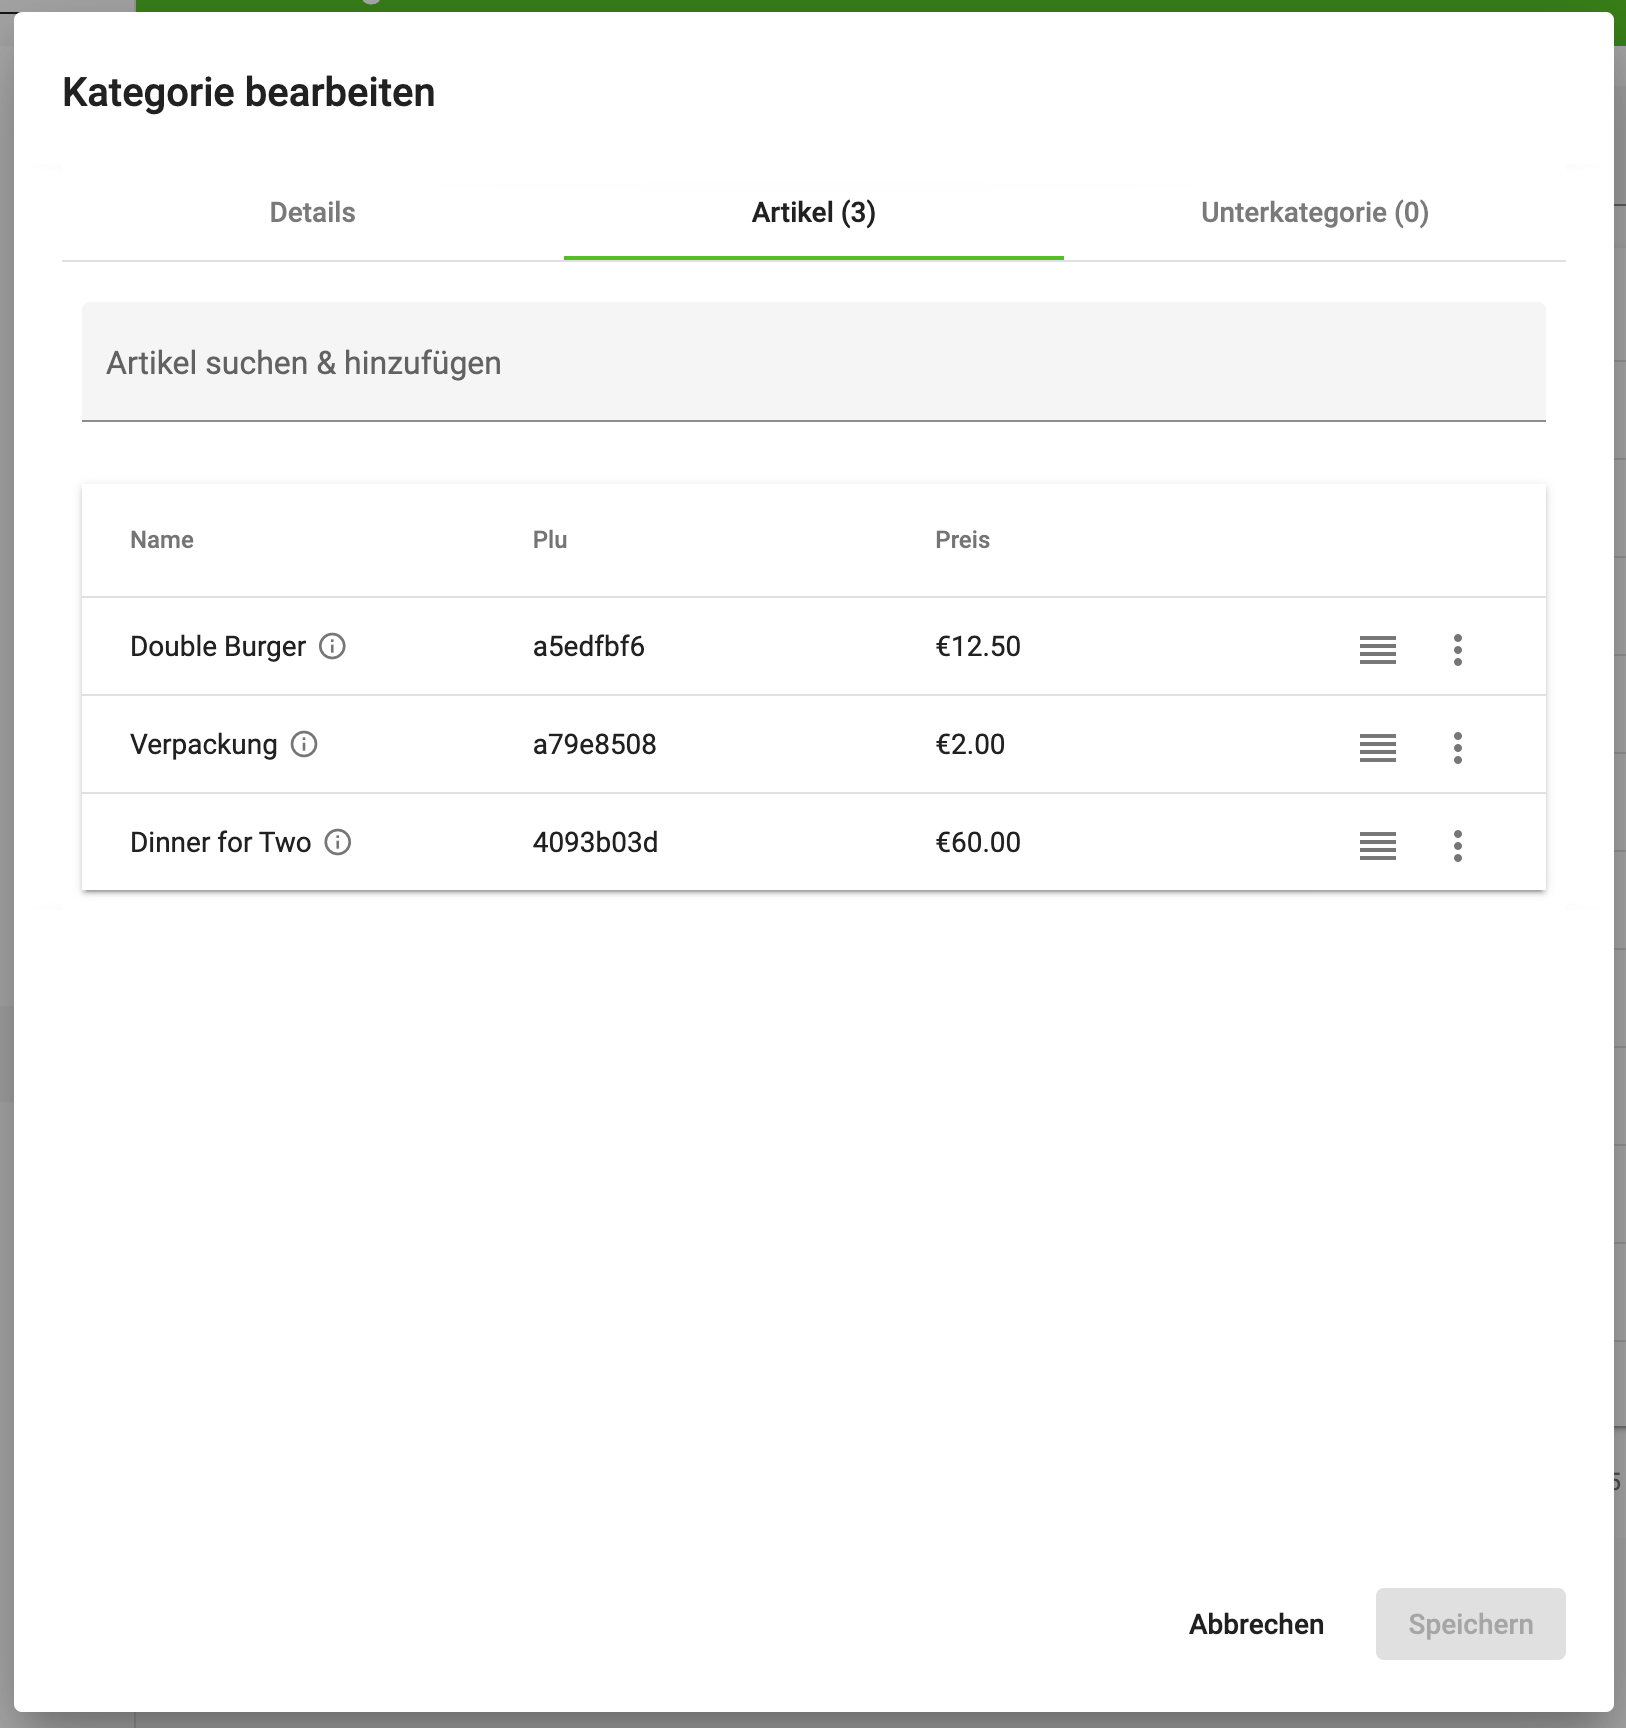
In the Articles tab, you can add and delete articles. Articles can be found and added via the search field. With the 3-dot icon you can also delete the articles again if needed. You can also reorder the articles by clicking on the bar icon and dragging the article up or down.

You can also add subcategories to the category itself. Use the Subcategory tab for this. It works analogously to the Articles tab. The subcategories can be used to better granulate larger categories.
Categories With a Connected Sales Point
How far a category can be edited here depends on where its data comes from.
-
Manually maintained Sales Point types – you create categories, subcategories, and the article assignment entirely here, as described above.
-
Connected Sales Point types (bessa Kassa or via the bessa Connector) – structure, article assignment, name, and availability times come from the Sales Point and are display-only here. Change them on the Sales Point, not in the Manager.
Even a category taken over from the Sales Point can be enriched for the webshop without touching the Sales Point. What stays editable:
-
the category image,
-
the day restrictions (on which days the category is offered online),
-
the translations into further languages.
The number of assigned articles is shown in the Articles column of the overview and updates after saving without reloading the page.